
|
Back to Help Library
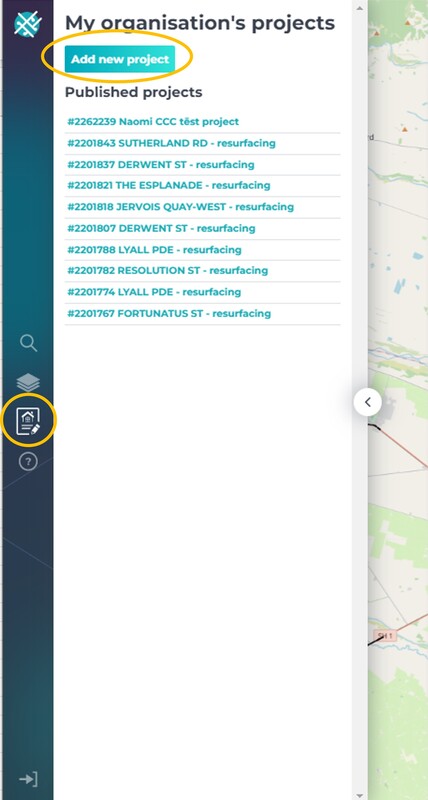
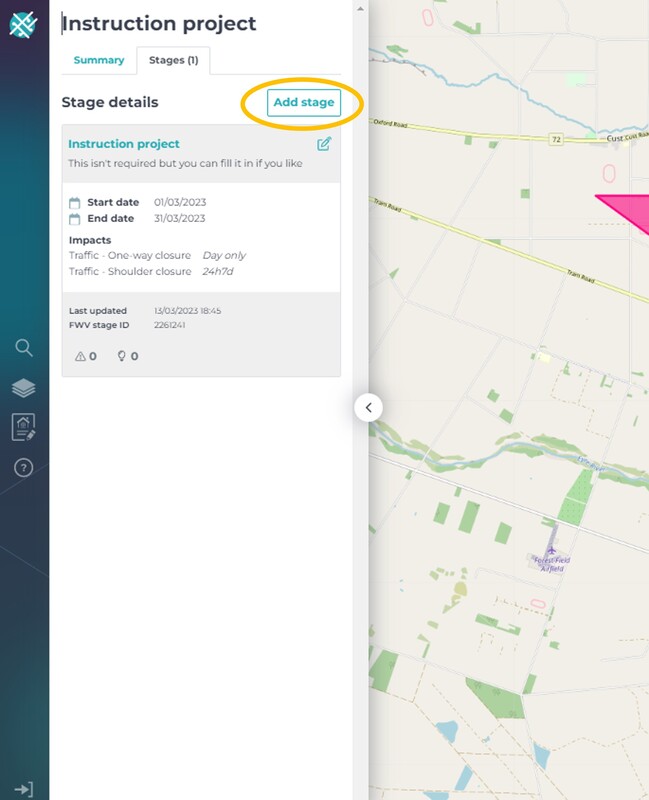
How to add a project20/10/2022 Adding the project details If you'd rather watch a video, scroll further down
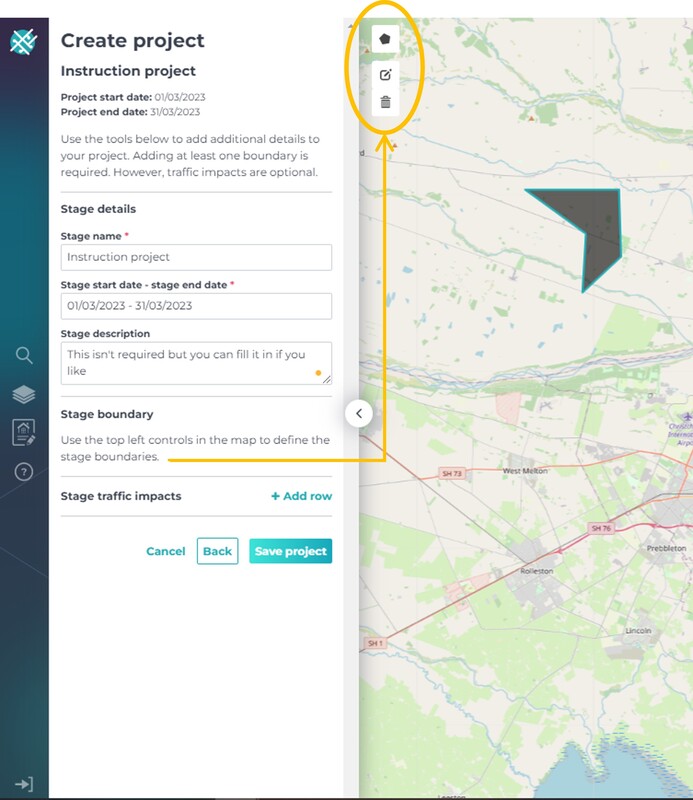
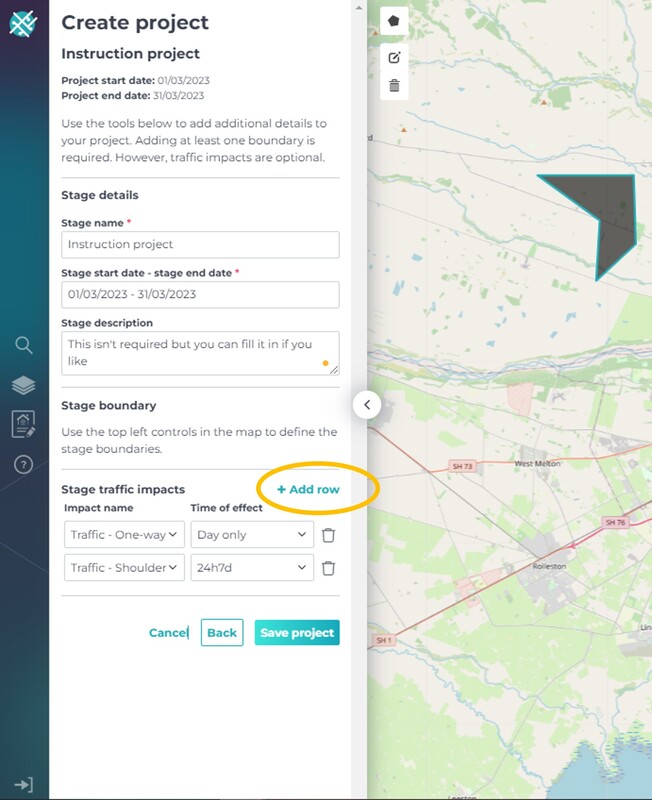
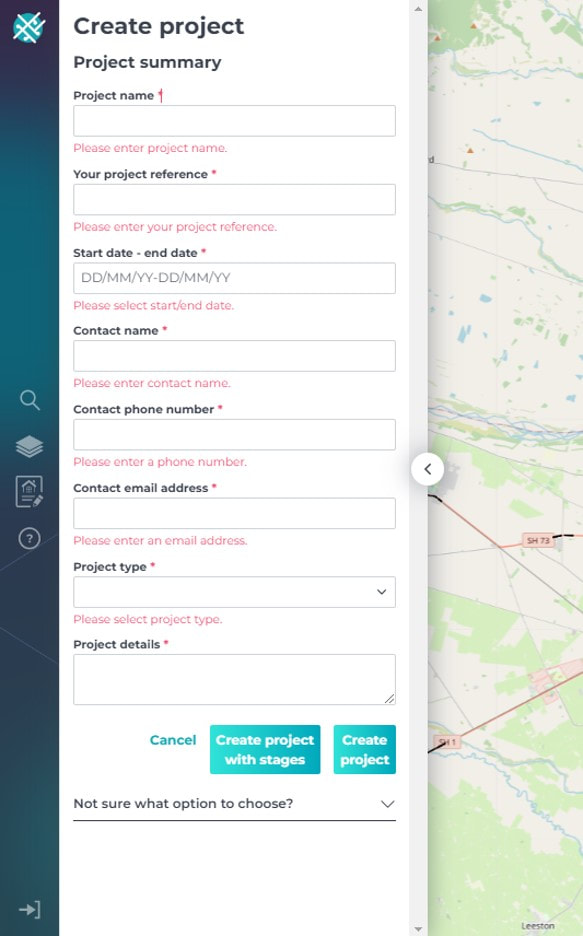 Create project with stages
 Create project (with no stages)
Watch the video below See also....
Comments are closed.
|

|
E: [email protected] A: SaltWorks, 4 Ash Street, Christchurch P: 0210 493 219
|
© COPYRIGHT 2021. ALL RIGHTS RESERVED.
|
|
|

|
|

|

|